SAML Application in Okta
To use Okta as an identity provider in {user.productname}, configure Okta (SAML Identity Provider or “SAML IdP”) with the details of {user.productname}.
Below are the steps to set up {user.productname} as a SAML application in Okta:
-
Log in to your Okta organization as a user with administrative privileges.
-
Click the Admin button.

- Click the Add Applications shortcut.

- Click the Create New App button.

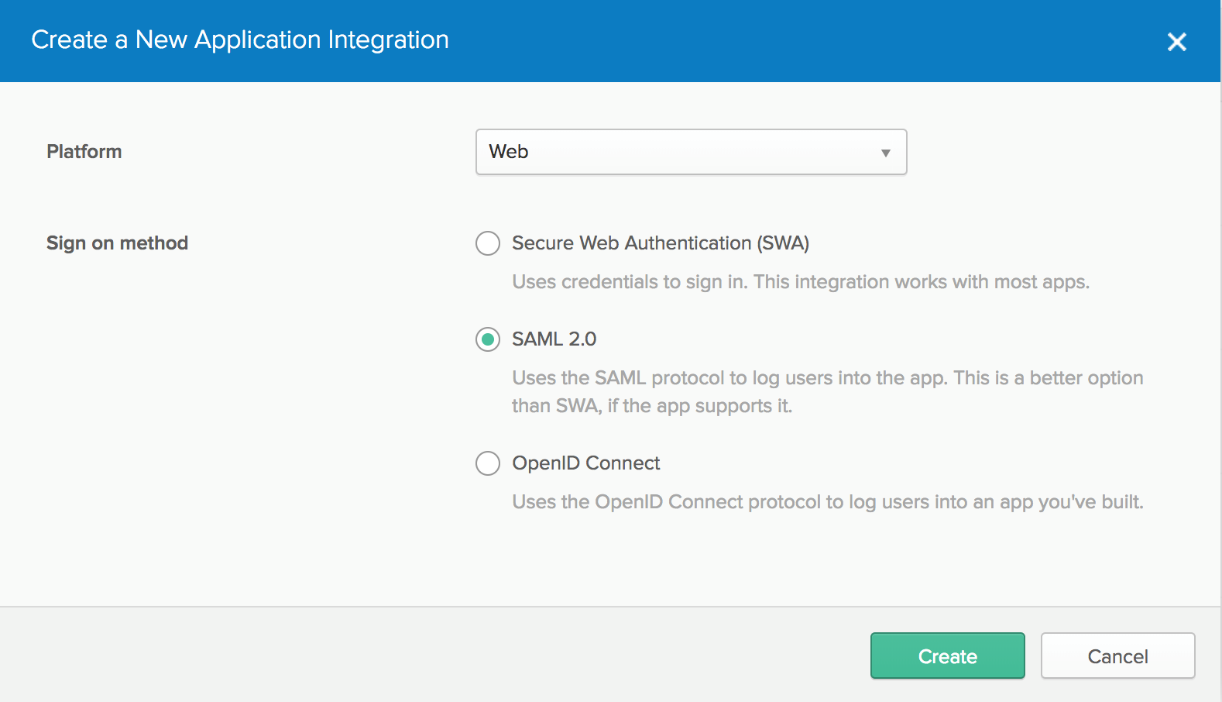
In the dialog that opens, select the SAML 2.0 option, then click the Create button.
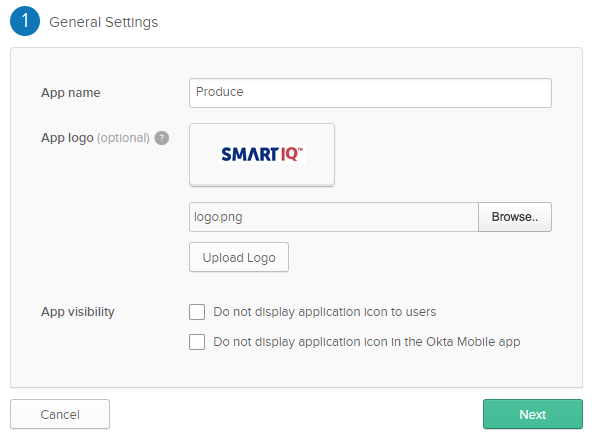
- In the Step 1 General Settings page, enter “
{user.productname}Produce” in the “App name” field, then click the Next button. You can optionally upload a logo to show on the Okta applications screen.
- In the Step 2 Configure SAML page, section A SAML Settings:
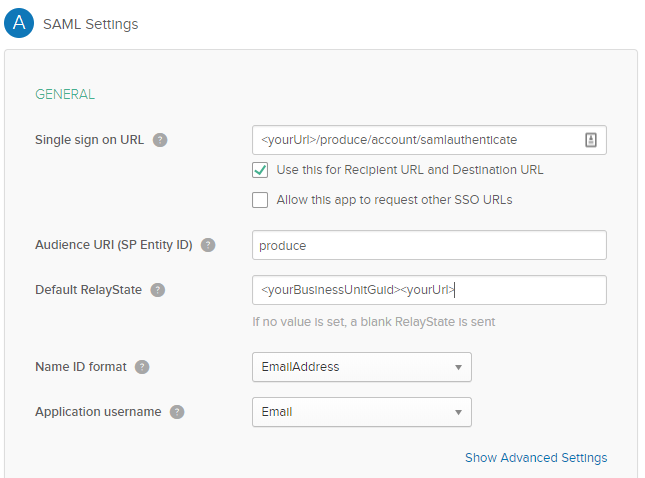
yourURL> | The URL to the application homepage, i.e., Manage or Produce. |
Single sign on Url | Unique to Manage and Produce, this URL takes the form of appending /Account/SamlAuthenticate to <youURL> |
Audience URI (SP Entity Id) | This is the unique value in the system which will be used in the Manage SAML configuration screen. It will be unique for Manage and unique for Produce. |
Name ID Format | Set to the entry EmailAddress |
Application Username | Set to the entry Email |
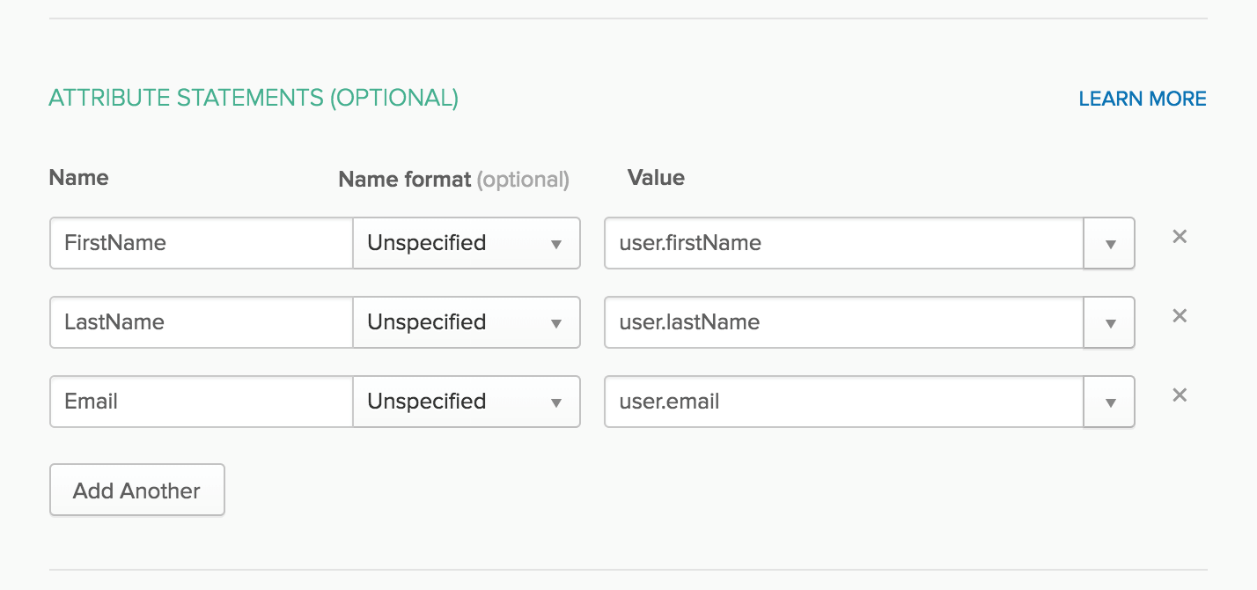
- In the “Attribute Statements” section, add three attribute statements so the values are available for User Profile Mapping in Manage:
- “FirstName” set to “user.firstName”
- “LastName” set to “user.lastName”
- “Email” set to “user.email”
If you are using Group Memberships in Okta and would like those memberships passed to {user.productname}, add an assertion name in the "Group Attribute Statements" section and set the filter to "Regex" with a value of .*
In this configuration, the assertion is named oktaGroups, and the Regex is set to pass all group memberships for the logged on user.
Click Next to continue.

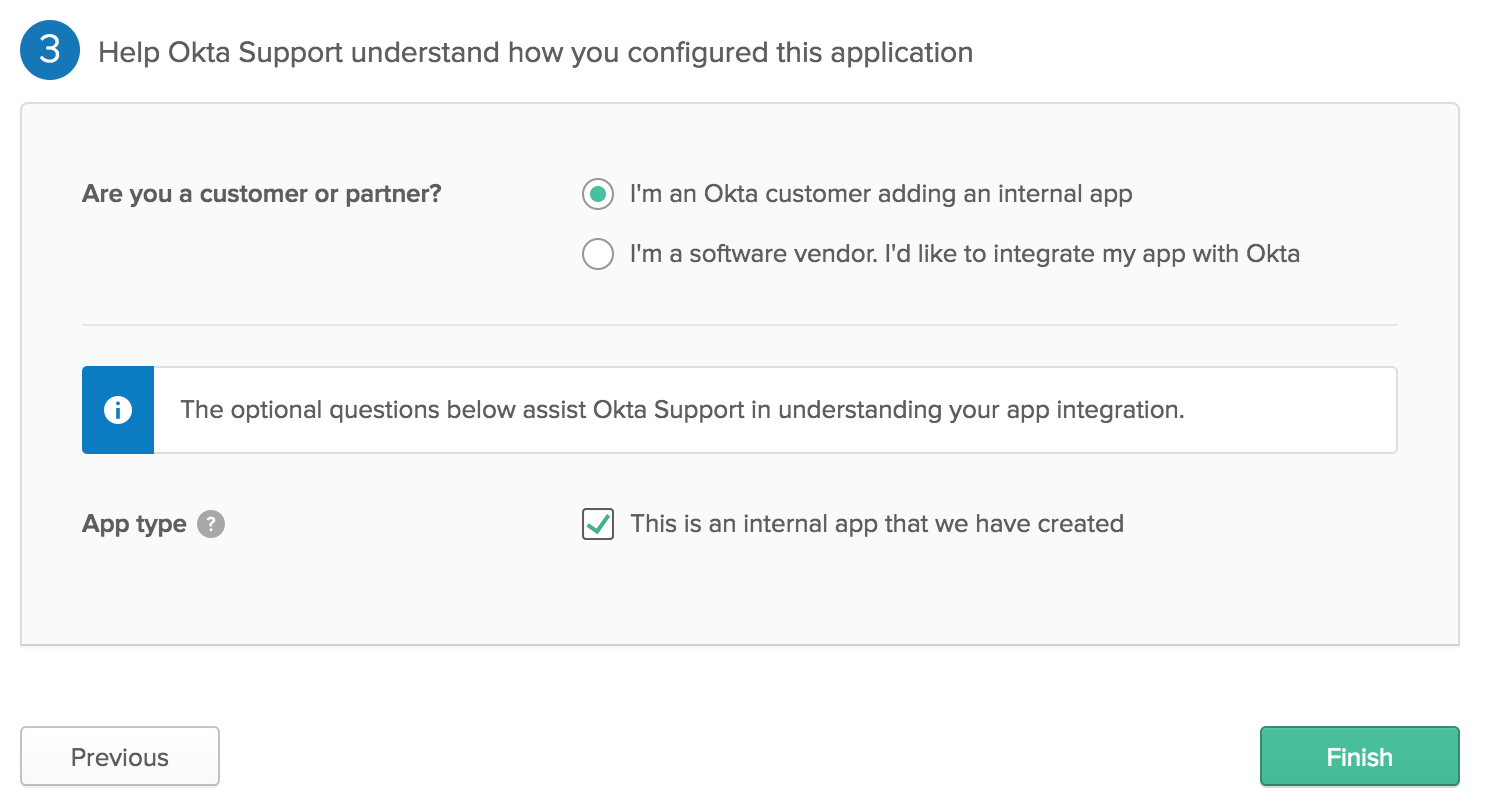
- In the Step 3 page, select the I’m an Okta customer adding an internal app and This is an internal app that we have created options.
Click Finish.
- The “Sign On” section of your newly created “
{user.productname}Produce” application appears. Keep this page open in a separate tab or browser window.
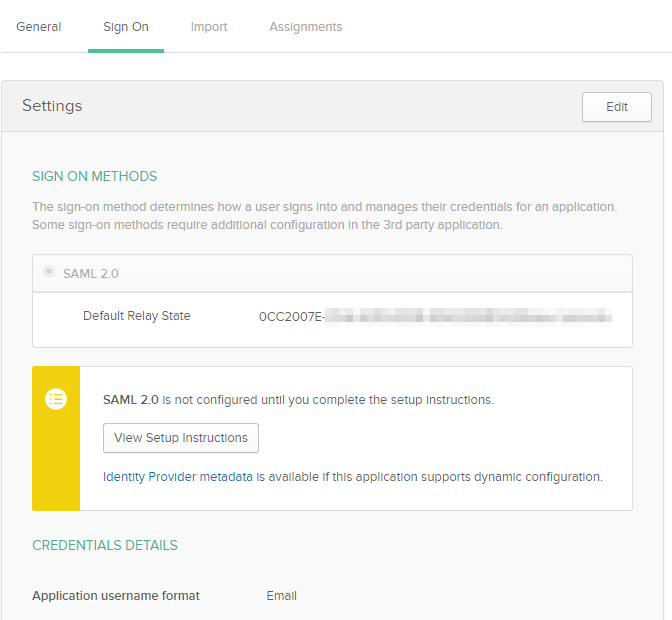
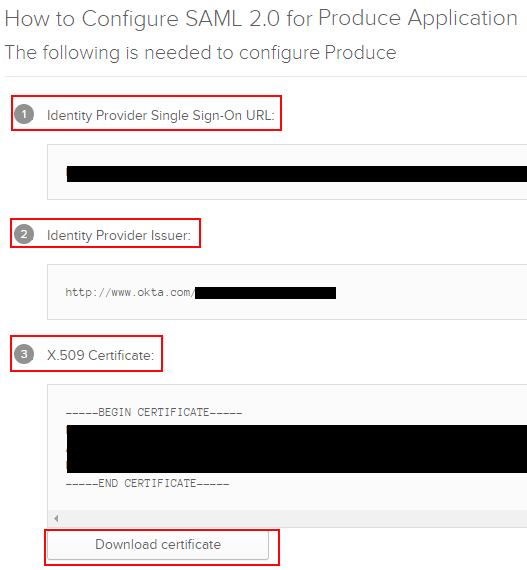
Clicking “View Setup Instructions” reveals the details required for {user.productname} configuration.
- Right-click the “Assignments” section of the “
{user.productname}Produce” application and select “Open Link In New Tab” (so that you can come back to the “Sign On” section later).
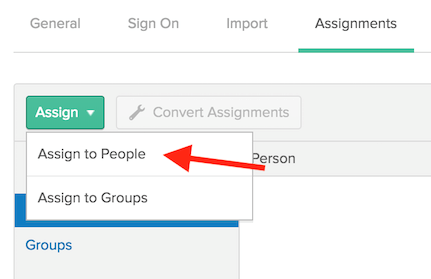
In the new tab that opens, click on the “Assign” button and select “Assign to People”
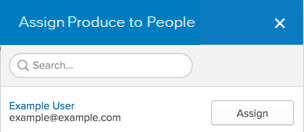
- A dialog titled “Assign
{user.productname}Produce to People” opens. Type your username into the search box and click the Assign button next to your username.
- Verify the user-specific attributes, then select Save and Go Back.
- Click Done to exit the assignment wizard.
Repeat for ManageRepeat the process for the application in
{user.productname}Manage. Both applications need to be configured before you can configure Okta in{user.productname}.
Updated 8 months ago
