How to configure an iFrame
Infiniti web forms can be embedded in another web page through an iframe HTML tag. An iframe tag requires the target URL to be supplied in the src attribute, as follows:
<iframe src="FormUrl" height="heightValue" width="widthValue"></iframe>Other attributes can be used to configure the iframe’s appearance and functionality, such as the presentation of scrollbars. For more information about using the iframe or other HTML tags, refer to W3C documentation http://www.w3.org/TR/html4/present/frames.html or review one of the many tutorials available online.
Defining the URL
There are two simple ways to embed Infiniti within your iframe, either embed the portal.aspx page to present to the user a list of the available web form or document projects or embed a link directly to a specific web form or document project.
Using portal.aspx
The portal.aspx page renders a list of the available forms depending on the user context. When the user clicks on a form name, a new window opens with the form.
Starting with the URL for Infiniti Produce, simply append ‘/portal.aspx’. For example:
<iframe src="http://InfinitiServer/Produce/portal.aspx" width="100%" height="400"></iframe>
Using a Direct Link
A direct link presents the target form in the iframe, which is useful when you don’t want users to select from a whole list of forms but are providing a web page dedicated to presenting one specific form.
Starting with the URL for Infiniti Produce, append ‘/wizard/{Form GUID}/’. For example:
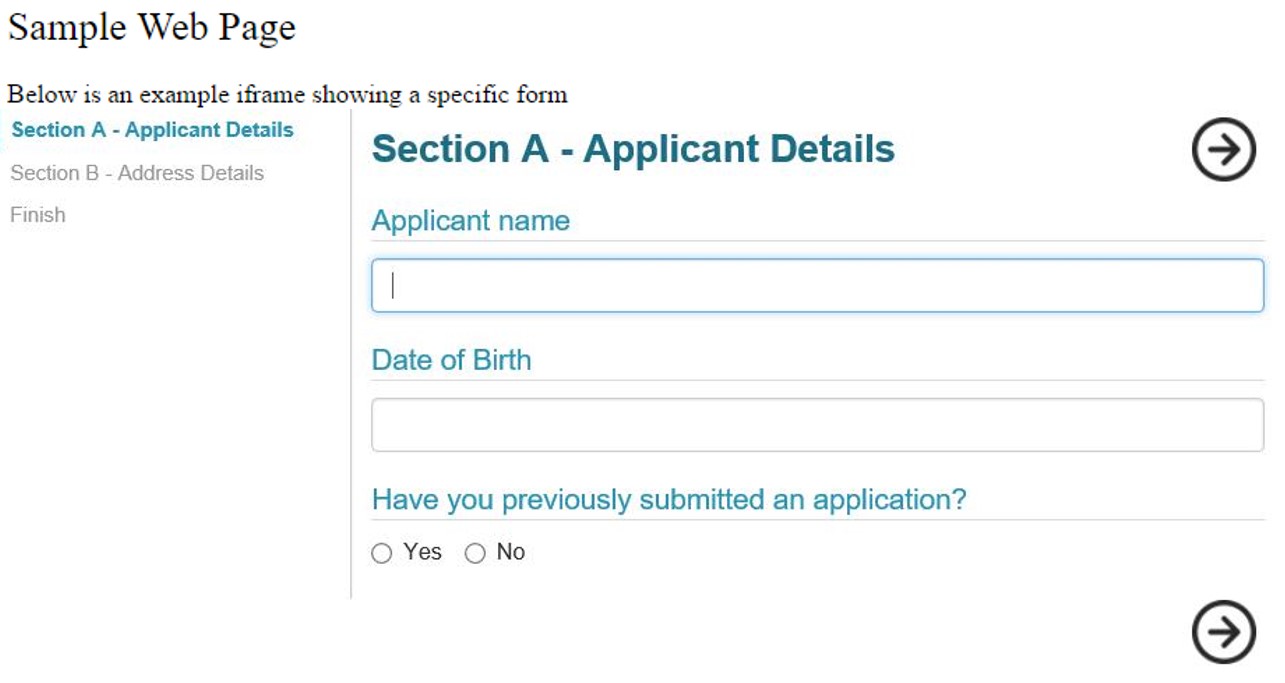
<iframe src="http://InfinitiServer/Produce/wizard/4d7d2c4f-2b3c-bd17-c7372b8da923" width="100%" height="400"></iframe>Sample Web Page
Below is an example iframe showing a specific form:

Configuring Form Appearance
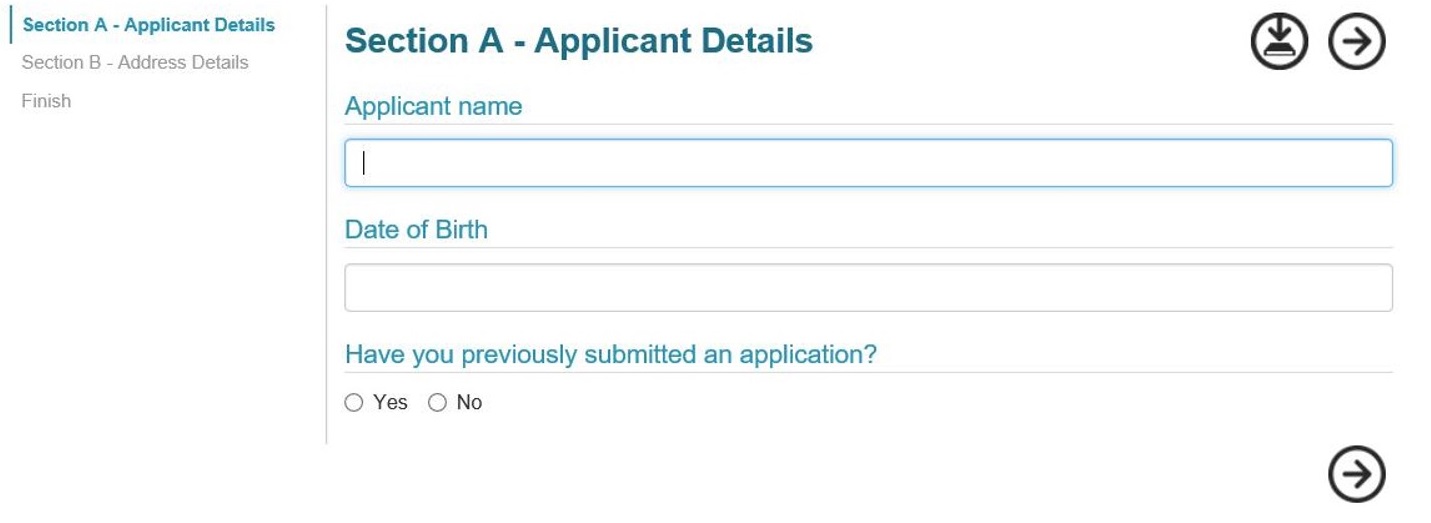
In the above example, you can see the form is displayed exactly as it would be if it was launched within the native Infiniti Produce interface, including the navigation pane on the left and the title bar across the top. This may not be a problem, however in most circumstances, if you are presenting a specific form to the user you don’t want them to be able to return to the default Produce homepage inside the iframe.
To remove the title bar you can append either the ‘?portal=1’ or ‘?portalsave=1’ attributes to the URL query string. Setting the portal attribute simply hides the top bar, thus removing the home and logout buttons. It also automatically removes the ability for logged in users to save an in-progress answer file. Setting portal save instead, has the same effect visually, however, enables the save functionality.

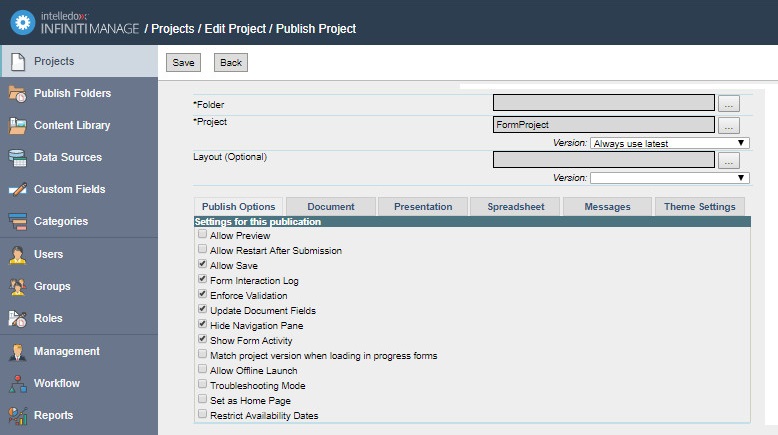
Depending on the circumstances you may also wish to remove the navigation menu on the left. This is configured in the Publish Options for a published project in Manage, as follows:

Simply set the Hide Navigation Pane option.
Security Considerations
You must consider security implications and authentication requirements when configuring an iframe to pass a user into the Produce application. This section takes you through several common authentication scenarios.
Guest/Public Access
If you are running a Guest access account, which has a separate module license to the core Infiniti product license, then you may pass users into a public facing form directly without the need for any authentication.
Windows Authentication
For internal domain users, when running Infiniti in Windows Authentication mode, there is also no need to consider authentication as this will take place automatically based on the user’s Windows credentials and group membership.
Other Authentication Models
When using the default Forms Authentication mode, users will always be directed to a login page rather than the portal.aspx or direct form page you had configured. In this situation, you will need to consider your options and plan a way to authenticate users seamlessly, for example using Single Sign-On.
In some cases, your site may already manage user accounts, either within the site or by using a separate Identity Provider and security tokens such as SAML. Infiniti can support a range of authentication models, including SAML and custom security pass through scenarios. It is worth discussing your options in more detail with an Intelledox consultant to work out the best scenario for you.
P3P Considerations
If you are using a different domain for the Infiniti Produce site than the parent iframe host site, you may need to consider the implications of browsers blocking cookies for ‘cross-site’ iframe use. This is not an issue when both your parent website and Intelledox Infiniti share the same domain or host site name.
Note:The Platform for Privacy Preferences Project or P3P is a protocol allowing websites to declare their intended use of the information they collect about browsing users. It is designed to give users more control of their personal information when browsing. When a website uses P3P, they set up a set of policies that allow them to state their intended uses of personal information that may be gathered from their site visitors. When a user decides to use P3P, they set their own set of policies and state what personal information they will allow being seen by the sites that they visit.
For more help check http://msdn.microsoft.com/en-us/library/ms537341(v=vs.85).aspx
Deploying P3P Privacy Policies
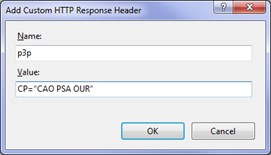
1.In Internet Information Services (IIS) Manager select the site where Infiniti is installed, usually ‘Default Web Site’, and select HTTP Response Headers from the middle pane (Features View) and double-click it.
2.Click the Add button in the Actions pane
3.Enter the name and the value as shown in the screenshot
4.Name: p3p
5.Value: CP = "CAO PSA OUR"

Updated 9 months ago
