Install Scheduler as a Windows Service
The {user.productname} Scheduler can be installed as a Windows Service on any Windows machine with access to the {user.productname} database. It is usually installed on the same web server where {user.productname} Produce is installed.
Navigate to the IntelledoxScheduler folder on the {user.productname} web server. For example, C:\inetpub\wwwroot<<productname>>\IntelledoxScheduler
Open the appsettings.json file in a text editor and set the connection string property to point to the {user.productname} database. This should be the same as the connection string defined in the configuration of Manage and Produce web applications.
Launch Command Prompt as an administrator.
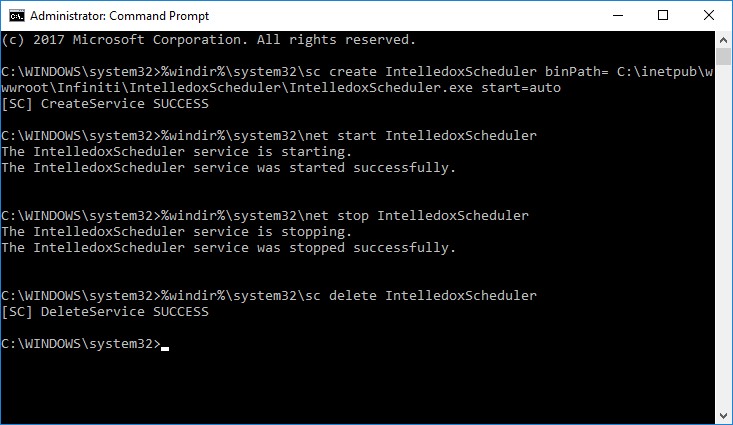
Enter the following command to install the service, replacing {SchedulerPath} for the actual path to the {user.productname} Scheduler directory.
%windir%\system32\sc create IntelledoxScheduler binPath= {SchedulerPath}\IntelledoxScheduler.exe start= autoEnter the following command to start, stop or uninstall the service
%windir%\system32\net start IntelledoxScheduler
%windir%\system32\net stop IntelledoxScheduler
%windir%\system32\sc delete IntelledoxScheduler
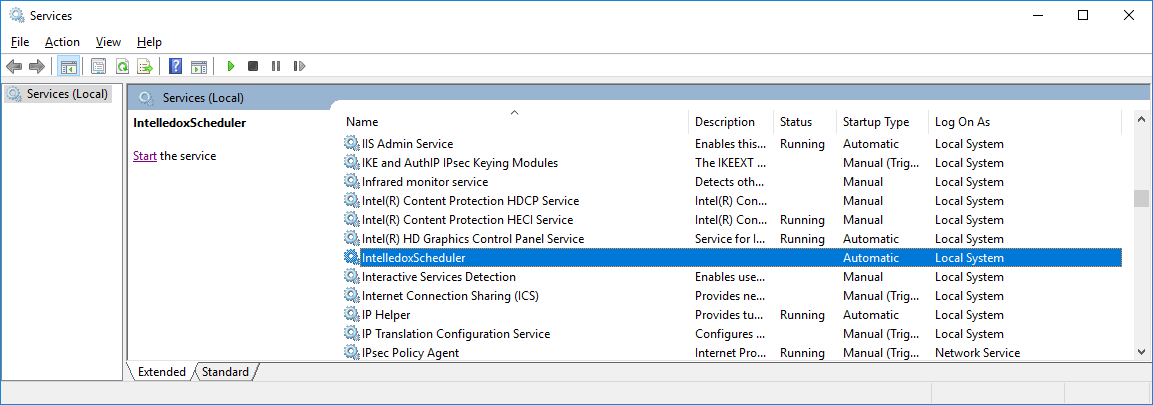
The Scheduler service can also be maintained in the Services application.

Install Multiple Copies of the SchedulerIt is possible to install multiple versions of the Scheduler on the same web server, particularly useful when one web server hosts multiple Environments by changing the name used from ‘SmartIQScheduler’ to another name, e.g. ‘SmartIQScheduler_EnvironmentName’. Please note that if you change the name, the upgrade process will not be able to automatically stop before it starts or restart the service after it completes. In this case you must manually stop the service before upgrade, and then restart the service after upgrade.
Updated 9 months ago
