iFrames
Interface Feature AvailabilityAvailable in web interface Produce only.
SmartIQ web forms can be embedded in another web page through an iframe HTML tag. An iframe tag requires the target URL to be supplied in the src attribute, as follows:
<iframe src="FormUrl" height="heightValue" width="widthValue"></iframe>Other attributes can be used to configure the iframe’s appearance and functionality, such as the presentation of scrollbars. For more information about using the iframe or other HTML tags, refer to W3C documentation http://www.w3.org/TR/html4/present/frames.html or review one of the many tutorials available online.
Defining the URL
There are two simple ways to embed SmartIQ within your iframe, either embed the portal page to present to the user a list of the available web form or document projects or embed a link directly to a specific web form or document project.
Using portal
The portal page renders a list of the available forms depending on the user context. When the user clicks on a form name, a new window opens with the form.
Starting with the URL for SmartIQ Produce, simply append ‘/portal’. For example:
<iframe src="http://SmartIQServer/Produce/portal" width="100%" height="400"></iframe>
Using a Direct Link
A direct link presents the target form in the iframe, which is useful when you don’t want users to select from a whole list of forms but are providing a web page dedicated to presenting one specific form.
Starting with the URL for SmartIQ Produce, append ‘/wizard/{Form GUID}/’. For example:
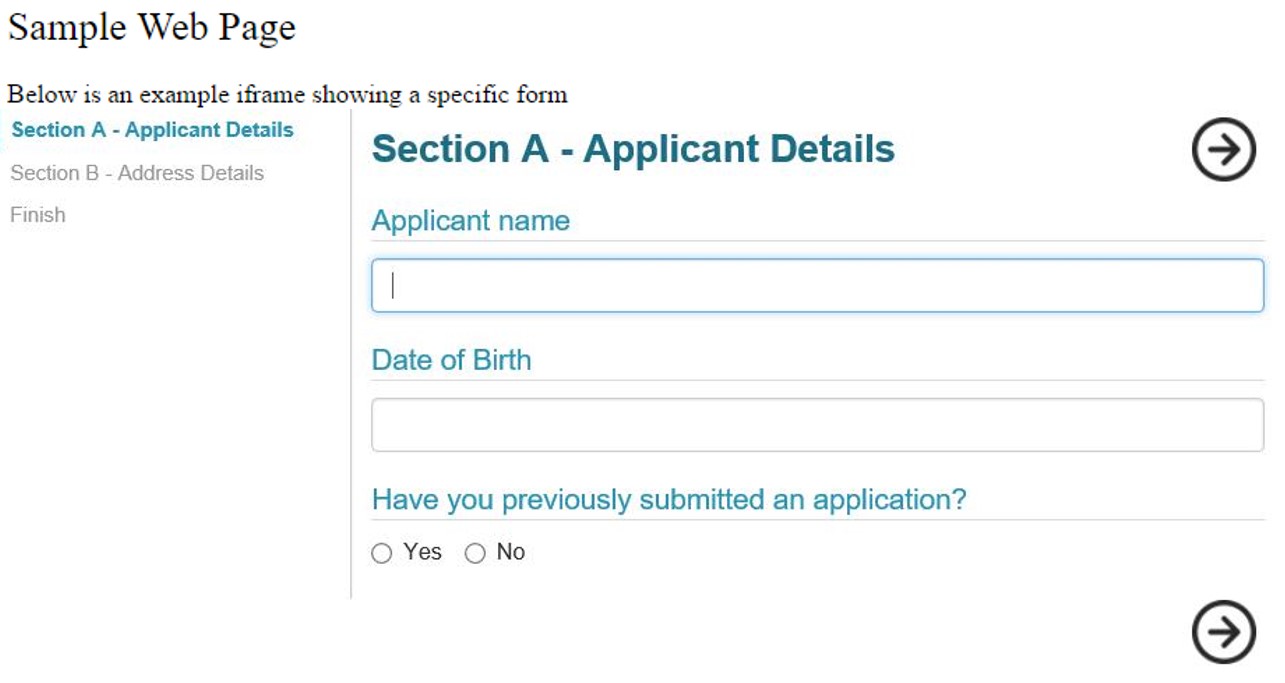
<iframe src="http://SmartIQServer/Produce/wizard/4d7d2c4f-2b3c-bd17-c7372b8da923" width="100%" height="400"></iframe>Sample Web Page
Below is an example iframe showing a specific form:

Configuring Form Appearance
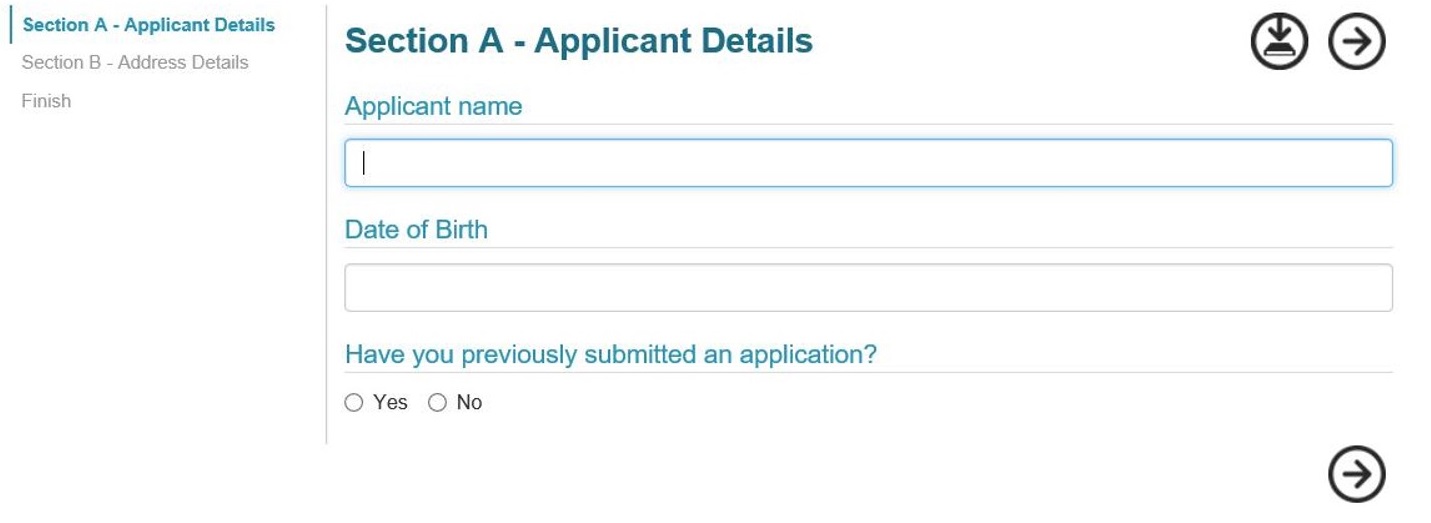
In the above example, you can see the form is displayed exactly as it would be if it was launched within the native SmartIQ Produce interface, including the navigation pane on the left and the title bar across the top. This may not be a problem, however in most circumstances, if you are presenting a specific form to the user you don’t want them to be able to return to the default Produce homepage inside the iframe.
To remove the title bar you can append either the ‘?portal=1’ or ‘?portalsave=1’ attributes to the URL query string. Setting the portal attribute simply hides the top bar, thus removing the home and logout buttons. It also automatically removes the ability for logged in users to save an in-progress answer file. Setting portal save instead, has the same effect visually, however, enables the save functionality.

Configuring Site Framing Settings in Manage
Deployment Feature AvailabilityAvailable in multi-tenant cloud deployments only.
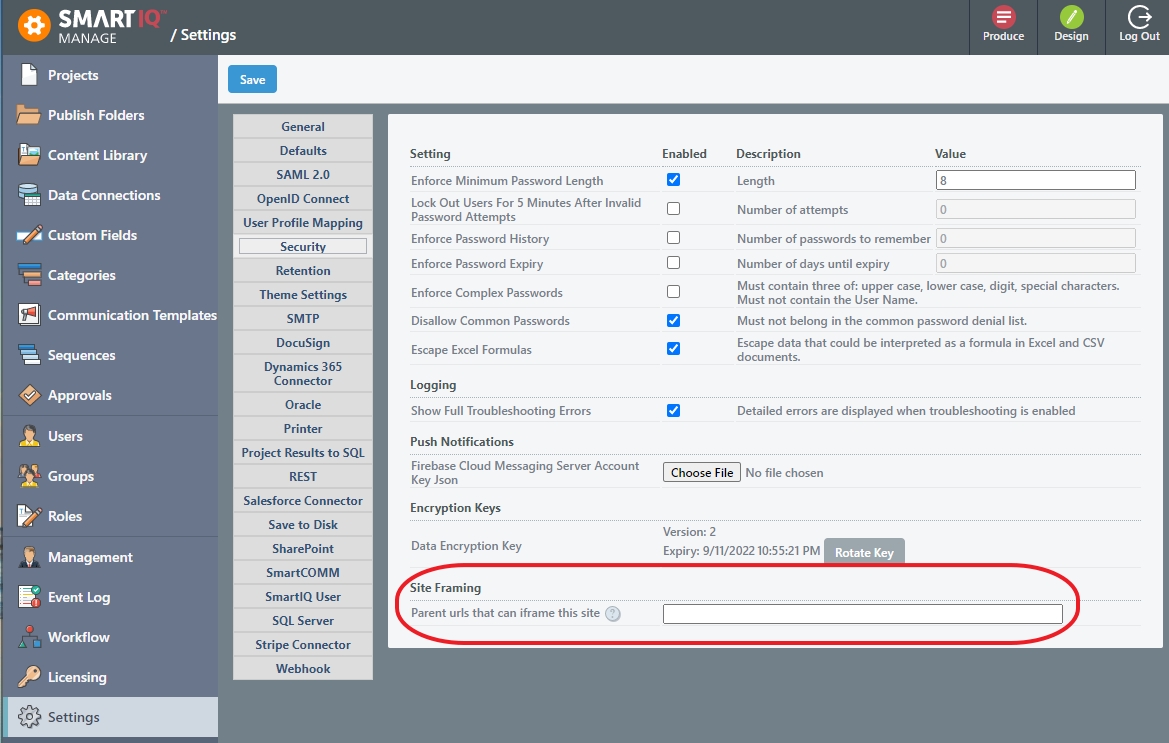
Those on multi-tenant cloud deployments can configure Site framing security settings from Manage > Settings > Security > Site Framing. Add URLs that are allowed to be embedded through an iFrame on your tenancy forms and dashboards. Use a space to separate URLs if there are more than one.

Configuring iFrame Resizer to control the dynamic size of a form
SmartIQ includes a component named "iFrame Resizer" which, when enabled, will emit the changes in iframe size to the parent site. This allows the parent site (the one framing SmartIQ ) to dynamically adjust the size of the container which SmartIQ is in.
This feature allows the communication between SmartIQ and your site so changes are required on your site to receive those change messages and adapt accordingly. The component includes the code required as well. Below is a sample webpage with the resizing component functioning. There iFrame Resizer plug ins for popular web content systems as linked below:
Sample HTML page using iFrame Resizer and SmartIQ
<!DOCTYPE html PUBLIC "-//W3C//DTD XHTML 1.0 Strict//EN" "http://www.w3.org/TR/xhtml1/DTD/xhtml1-strict.dtd">
<html xmlns="http://www.w3.org/1999/xhtml">
<head>
<meta http-equiv="Content-Type" content="text/html; charset=iso-8859-1" />
<title>iFrame Resizer Sample</title>

<script src="https://your.smartiq.tenant.sample/smartiq/produce/lib/iframe-resizer/iframeResizer.min.js"></script>
</head>
<body>

<!-- your website is here -->

<!-- Sample SmartIQ named iFrame -->
<iframe style="border:0" width="1000" height="500" id="smartIQiframe" src="https://your.smartiq.tenant.sample/smartiq/produce/Form/Samples/SampleFormURL/"></iframe>

<!-- more of your website is here -->

    <script>
	  //Script initialization at the bottom of the page
        iFrameResize({ }, '#smartIQiframe')
    </script>
</body>
</html>
Additional Option
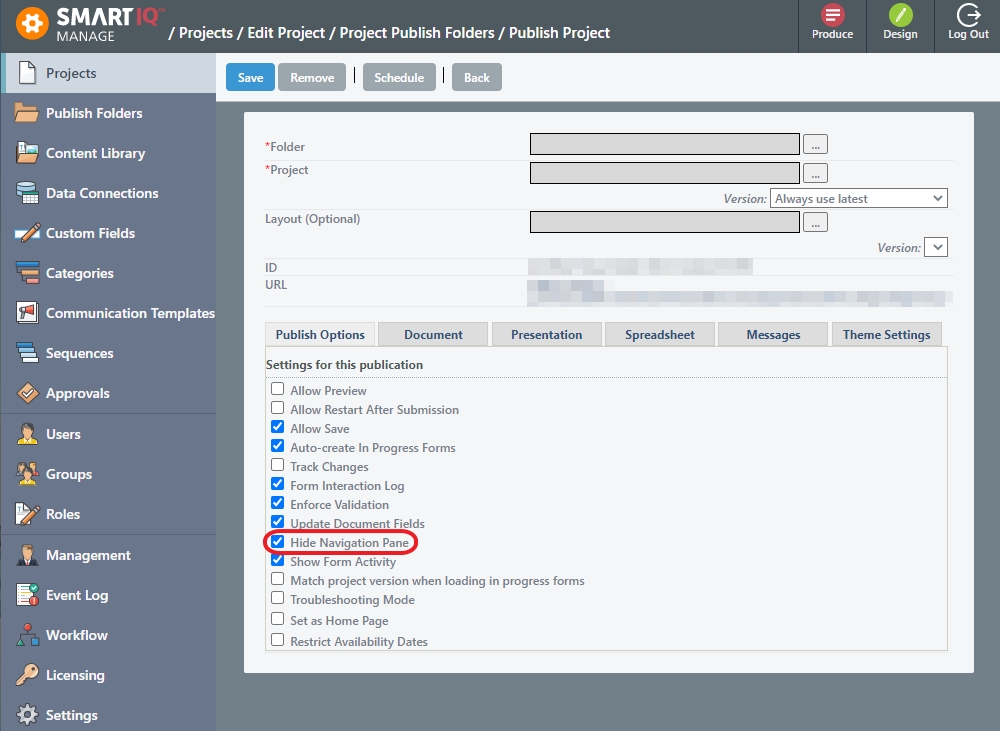
Depending on the circumstances you may also wish to remove the navigation menu on the left. This is configured in the Publish Options for a published project in Manage by enabling the Hide Navigation Pane option.

Security Considerations
For on-premise installations you must consider security implications and authentication requirements when configuring an iframe to pass a user into the Produce application. This section takes you through several common scenarios.
Content Security Policy, X Frame Options and SameSite settings
Multi-tenant Cloud InstancesIf the Manage > Settings option is set, no further action is necessary.
Appropriate changes to the Content-Security-Policy and X-Frame-Options sections will need to made in the appsettings.json file of the Produce site in SmartIQ to allow for iFraming.
Note: On upgrade, all existing customHeaders in theweb.configof Manage and Produce will be moved toappsettings.jsonin a new "Headers" section.
There are a range of possible settings and you should refer to suitable documentation for X Frame Options and Content Security Policy.
SameSite prevents cookies from being sent to the site if the request comes from an external site. There are three levels it supports:
- None: Cookies are always sent to the site regardless of how you got there.
Note: If iFrames are enabled, any cookies set in Produce will have theirSameSitevalue set toNone.
- Lax: Cookies are sent for top-level get requests. This means POSTing to the site and hosting in iframes is blocked.
- Strict: Cookies are never sent to the site when arriving via an external site.
For new installations, the value is set to "Lax" and needs to then be configured to "None" if using iframes.
<httpCookies sameSite="None" />
Guest/Public Access
If you are running a Guest access account, which has a separate module license to the core SmartIQ product license, then you may pass users into a public facing form directly without the need for any authentication.
Windows Authentication
For internal domain users, when running SmartIQ in Windows Authentication mode, there is also no need to consider authentication as this will take place automatically based on the user’s Windows credentials and group membership.
Other Authentication Models
When using the default Forms Authentication mode, users will always be directed to a login page rather than the portal or direct form page you had configured. In this situation, you will need to consider your options and plan a way to authenticate users seamlessly, for example using Single Sign-On.
In some cases, your site may already manage user accounts, either within the site or by using a separate Identity Provider and security tokens such as SAML. SmartIQ can support a range of authentication models, including SAML and custom security pass through scenarios. It is worth discussing your options in more detail with an SmartIQ consultant to work out the best scenario for you.
Updated 9 months ago
